 ``
``Building Your First React Native Application: A Step-by-Step Guide

Anirban Das
4 mins read
Table of Contents
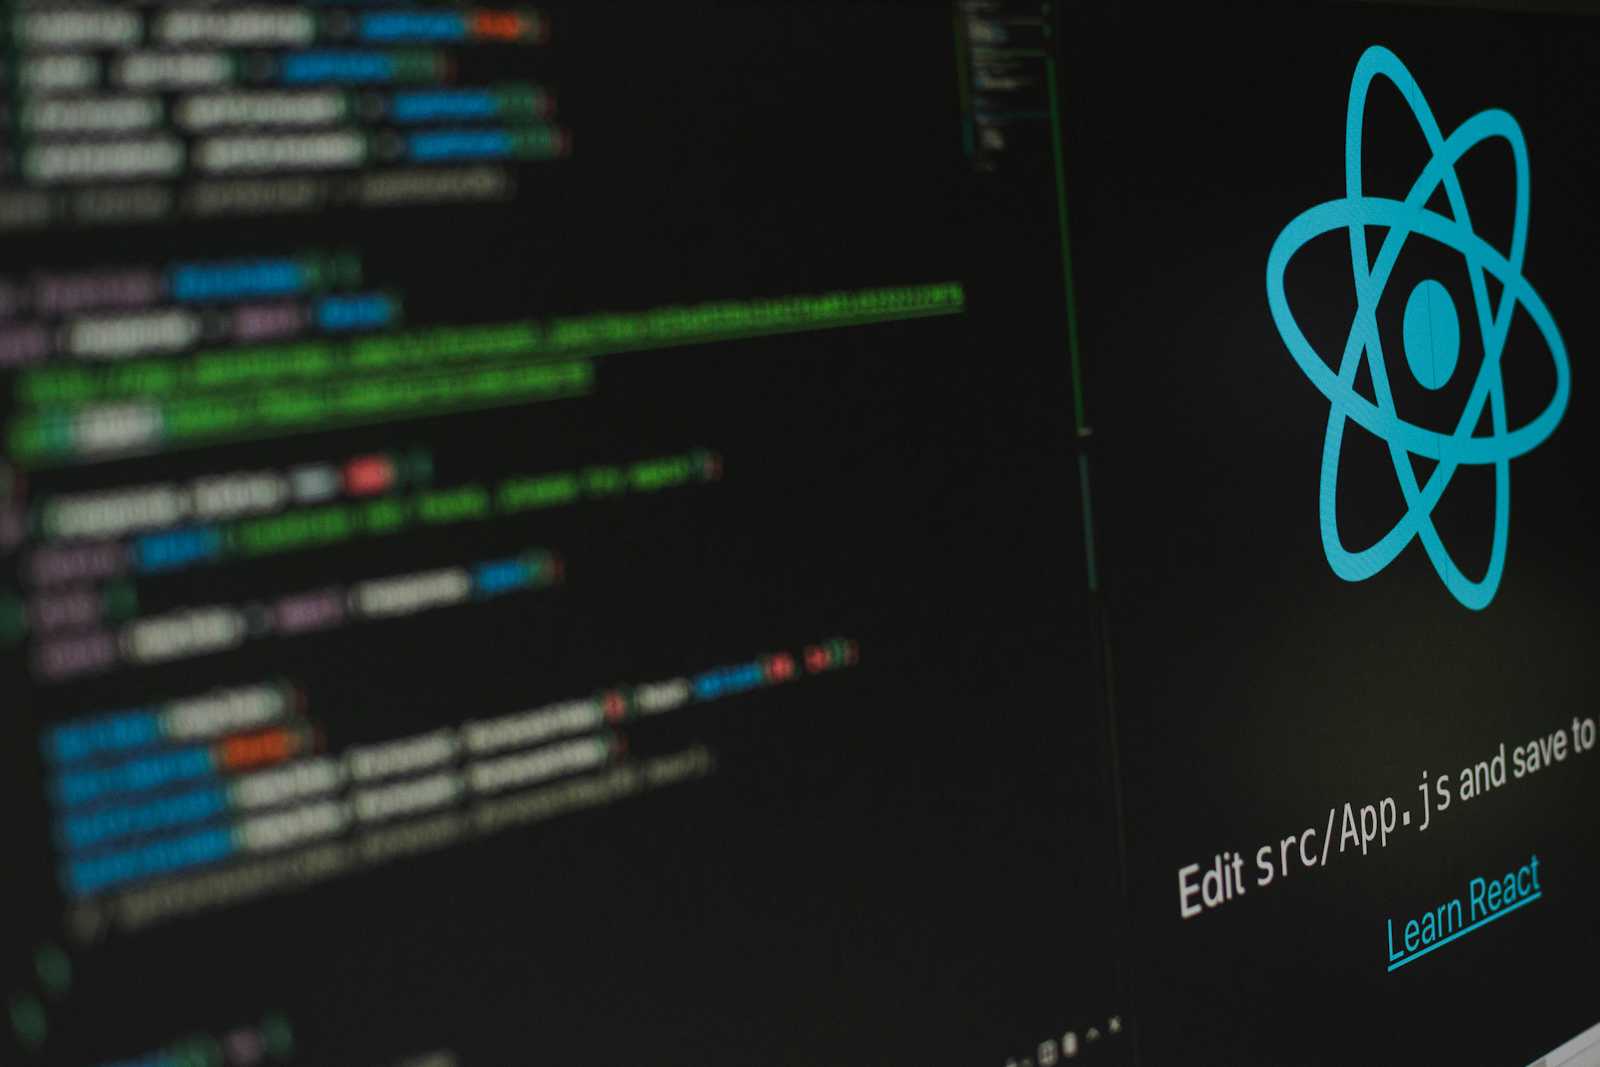
Step 1: Set Up Your Development EnvironmentStep 2: Create a New React Native ProjectStep 3: Run Your AppiOSAndroidReact Native has emerged as a popular framework for building cross-platform mobile applications with JavaScript and React. Its ability to write code once and deploy it on both iOS and Android platforms makes it a favorite among developers. In this guide, we'll walk through the process of creating your first React Native application, covering everything from setup to deployment.
Step 1: Set Up Your Development Environment
Before you can start building React Native apps, you need to set up your development environment. Here's what you'll need:
Node.js and npm: Install Node.js from the official website, which also installs npm, the package manager for Node.js.
React Native CLI: Install the React Native command-line interface globally using npm:
npm install -g react-native-cliXcode (for macOS): If you're developing for iOS, install Xcode from the Mac App Store.
Android Studio (for all platforms): If you're developing for Android, install Android Studio and set up an Android Virtual Device (AVD).
Step 2: Create a New React Native Project
Once your development environment is set up, you can create a new React Native project using the following command:
npx react-native init MyFirstApp
Replace "MyFirstApp" with the name of your project. This command creates a new directory containing the project files and installs the necessary dependencies.
Step 3: Run Your App
Navigate to the project directory and run the following command to start the development server:
cd MyFirstApp
npx react-native start
Next, open a new terminal window and run the following command to launch your app on an iOS or Android simulator:
iOS
npx react-native run-ios
Android
npx react-native run-android
Step 4: Write Your First Code
Now that your app is up and running, you can start writing code. React Native apps are built using components, which are reusable building blocks similar to functions or classes in React.
Open the App.js file in your project directory and start editing. You'll see a default component like this:
import React from 'react';
import { View, Text } from 'react-native';

const App = () => {
  return (
    <View style={{ flex: 1, justifyContent: 'center', alignItems: 'center' }}>
      <Text>Hello, React Native!</Text>
    </View>
  );
};

export default App;
Feel free to modify the text or add more components to customize your app.
Step 5: Add Functionality and Styling
As you build your app, you'll want to add functionality and style it to make it visually appealing. React Native provides components for various UI elements, such as buttons, text inputs, and images. You can also use third-party libraries like React Navigation for navigation and styled-components for styling.
Here's an example of how you can add a button to your app:
import React from 'react';
import { View, Text, Button } from 'react-native';

const App = () => {
  const handlePress = () => {
    // Handle button press
  };

  return (
    <View style={{ flex: 1, justifyContent: 'center', alignItems: 'center' }}>
      <Text>Hello, React Native!</Text>
      <Button title="Press Me" onPress={handlePress} />
    </View>
  );
};

export default App;
Step 6: Test Your App
As you make changes to your app, it's essential to test it thoroughly to ensure it works as expected. You can test your app on simulators/emulators or real devices. React Native provides tools like React Native Debugger and Expo for debugging and testing your app's performance.
Step 7: Deploy Your App
Once you're satisfied with your app, you can deploy it to the Apple App Store and Google Play Store. The deployment process involves generating a release build, configuring app settings, and submitting it for review. You'll need to create developer accounts with Apple and Google and follow their guidelines for app submission.
Conclusion
Building a React Native application is an exciting journey that allows you to create powerful and versatile mobile apps using JavaScript and React. By following the steps outlined in this guide and exploring the vast ecosystem of React Native libraries and tools, you'll be well-equipped to build and deploy your own mobile apps. Happy coding!